 kingpdc


recherche de produits
recherche
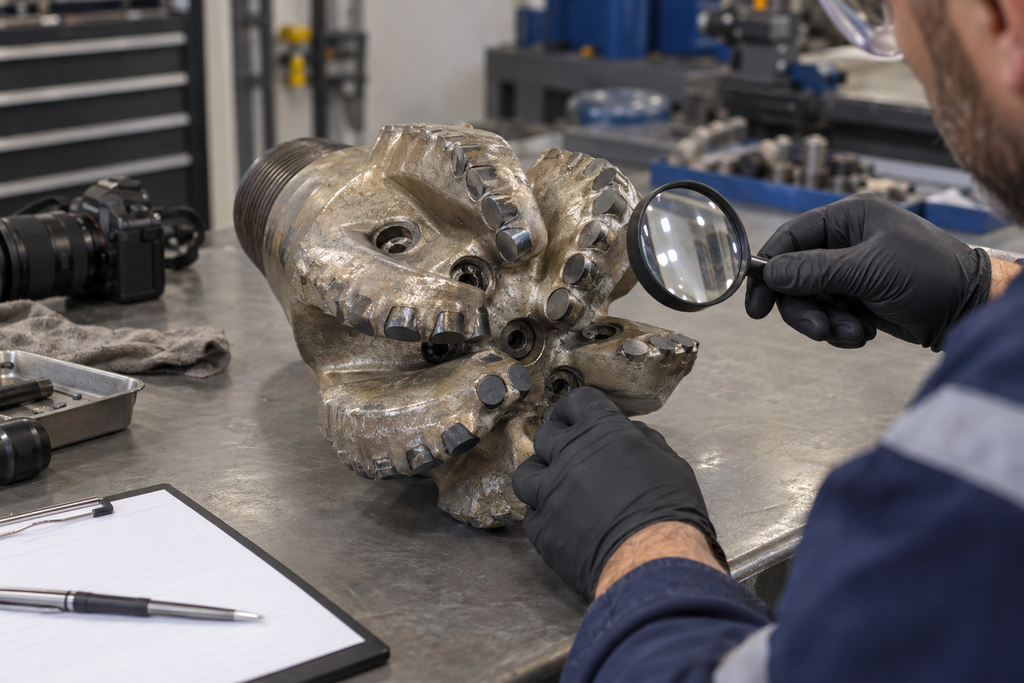
The drill bit came out and a cutting tooth chipped in the shoulder. People who look around the drill are often quick to discuss materials, weight on bit, or whether that section of the formation is too hard. The problem is, with the appearance of these 1 teeth alone, which statement is still unsteady. Is there any similar damage to other blades with the same radius? Is the nozzle blocked? Is this well tripped out according to the plan or has to be tripped out after the drilling speed drops? These situations are not clear, and the later judgment is easy to deviate.
The first thing pdc bit dull grading do is to record the drill bit accurately when it comes out of the well. It records what it sees, not stamps it in advance for some reason.
The drill with mud is not good-looking, but it is worth shooting 1 times first. What is piled up in the chip removal groove, whether the drill bit surface is covered with mud, and whether the nozzle opening is blocked may not be visible after cleaning. Leave photos of the whole, front, each blade and gauge area, and then clean and check the cutting teeth. In this way, when you see local wear or damage later, you can at least look back at the state of cleaning and chip removal at that time.
After washing, don't just pat the most serious tooth. Is the grinding surface smooth slowly, or the edge suddenly collapses? Is the diamond layer separated from the substrate? If the tooth is gone, is the whole tooth falling off from the tooth socket, or only a part is left? It is better to take the tooth number on the photo, and the side and adjacent teeth are photographed in serious positions. Otherwise, in a few days, I will hold a few close-up discussions, and no one can say for sure which blade and position the photo corresponds.
During the inspection, walk 1 times from inside to outside along the fixed blade sequence. If the tooth socket is empty, the original number should be kept. Without the number, there is only a general description of "tooth drop". Only by keeping the number can we know whether it occurred near the cone, nose, shoulder or diameter, and what the adjacent teeth later suffered.
The tooth-by-tooth comparison takes time, but it can retain the abnormal tooth. Summarized by region, you can see where the damage is mainly concentrated. The two records are useful together. Only the worst 1 is displayed, and it is easy to regard individual damage as the state of the whole drill bit. Just looking at the general situation of the area may drown out the teeth that are really worth tracing. If multiple blades are damaged one after another at a close radius, it is more necessary to mark the tooth positions involved, rather than writing the 1 sentence "shoulder wear is serious" in general ".
There is also an easily overlooked reference before rating: what it originally looked like before going down the well. Special-shaped teeth such as ridges and concave surfaces are not flat in nature; gage teeth may also have pre-grinding surfaces. Rework bit and repeat drill bit can not be compared with the new state. There are no original photographs or tooth maps that can record the damage seen in front of the eye, but the judgment of material loss and formation time must be cautious.
The fact that a collapse looks like an impact does not mean that it has been proved to be an impact; the color is dark and cannot be used alone as evidence of overheating. First, write down the damage morphology and location, then look at the well depth, formation, weight on bit, speed, torque, ROP, pump pressure and the reason for tripping out. If you suspect stick-slip or drill jump, you also need to find the data for the corresponding time period. Taking only the photos after drilling and a set of average parameters, it is difficult to restore the sequence of damage.
This also explains why the same grinding teeth may have a completely different conclusion: 1 bit tripping out normally after completing the planned interval, while the other 1 quits early due to abnormal drilling speed. Similar appearance does not mean the same performance. Ratings leave the differences behind, and the cause analysis goes on to explain those differences.
In the end, specific evidence should be provided to change the cutting tooth material, adjust the tooth position, or check the hydraulic and operating parameters. After drilling under similar working conditions in the next 1 trips, and then comparing with the same tooth number, photos and recording methods, we can see if the changes have helped.
Learn what shapes pdc bit cost and compare quotes by design, cutter specification, quantity, quality, and delivery.
Voir les détails
Fournir des mèches à pointe diamantée, y compris des mèches solides et des carottes, spécialement conçues pour la roche, le verre, etc.
Voir les détails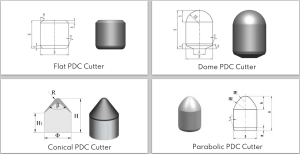
KingPDC Shaped PDC Cutters - Solutions d'approvisionnement en vrac pour des forages de haute performance dans de multiples applications
Voir les détails
Optez pour des forets diamantés polycristallins PDC haut de gamme afin d'améliorer le débit de forage (ROP) et de réduire les coûts cachés liés au forage.
Voir les détails